Web Publishing Guide: WordPress Editor’s Guide
Requesting Content Updates
Option 1: Webmaster Ticket Desk
To request edits to a webpage, submit the change request form or email [email protected]
Option 2: Submit a Revision
As an East Texas A&M employee, you can use your university credentials to log into our website editor and propose changes.
Login
To get started, you just need to log in with your university credentials. Use the link titled Update this Page at the bottom of every page.
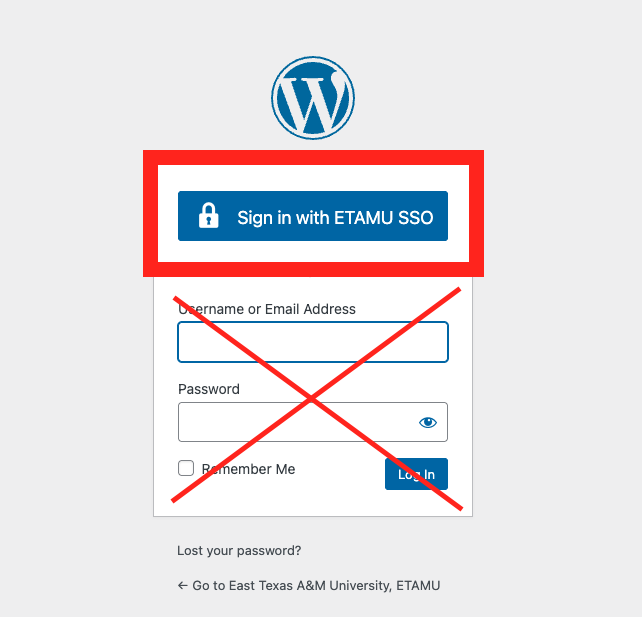
Select Sign in with ETAMU SSO
Note: the first time you log in, your account will need to be approved by an admin.

Make a New Revision
Once logged in, a black bar will appear at the top of the page. Select “New Revision.” You can make changes directly to the page. Use this guide for instructions, or contact [email protected] with questions or to schedule a walkthrough.

Save Revision
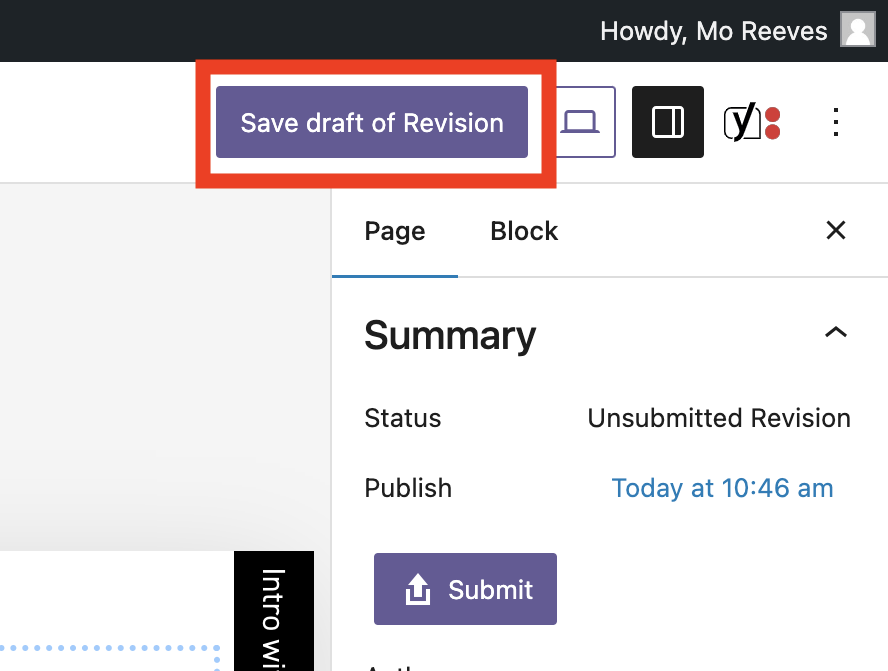
If you need to pause and return to your revision later, you can select “Save draft of Revision.”
Update Saved Revision
Come back to your revision later by logging in, and selecting “My Revisions” in the black bar at the top of the page.
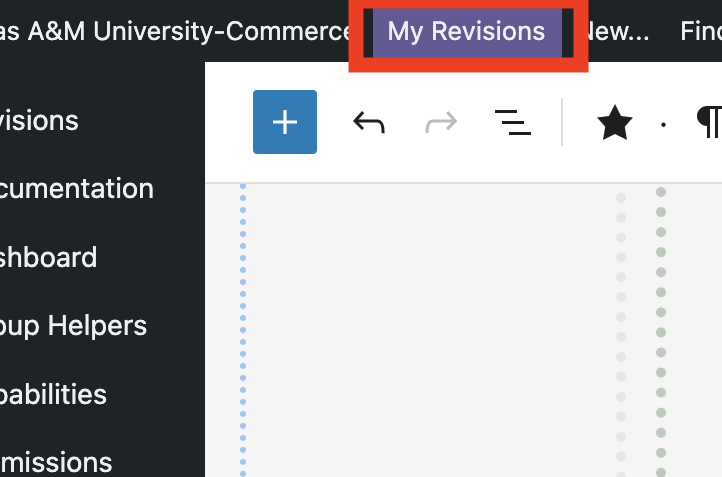
Next, hover over your revision and click “Edit and Update Revision” to be taken back to the edit page.

Submit Revision
Once you are ready to submit your changes for approval, select “Preview and Submit Revison” in the black bar at the top of the page.

Here, you can see how your changes will look when published. If you see something else you want to change, click “Edit” to return to the edit page. When satisfied with your revision, click the purple “Submit” button to send it for editorial review and publication.
In the editorial review, our full-time web writing staff will check the page for Search Engine Optimization, accessibility to the differently abled, brand voice, spelling and grammar.

Editing in WordPress
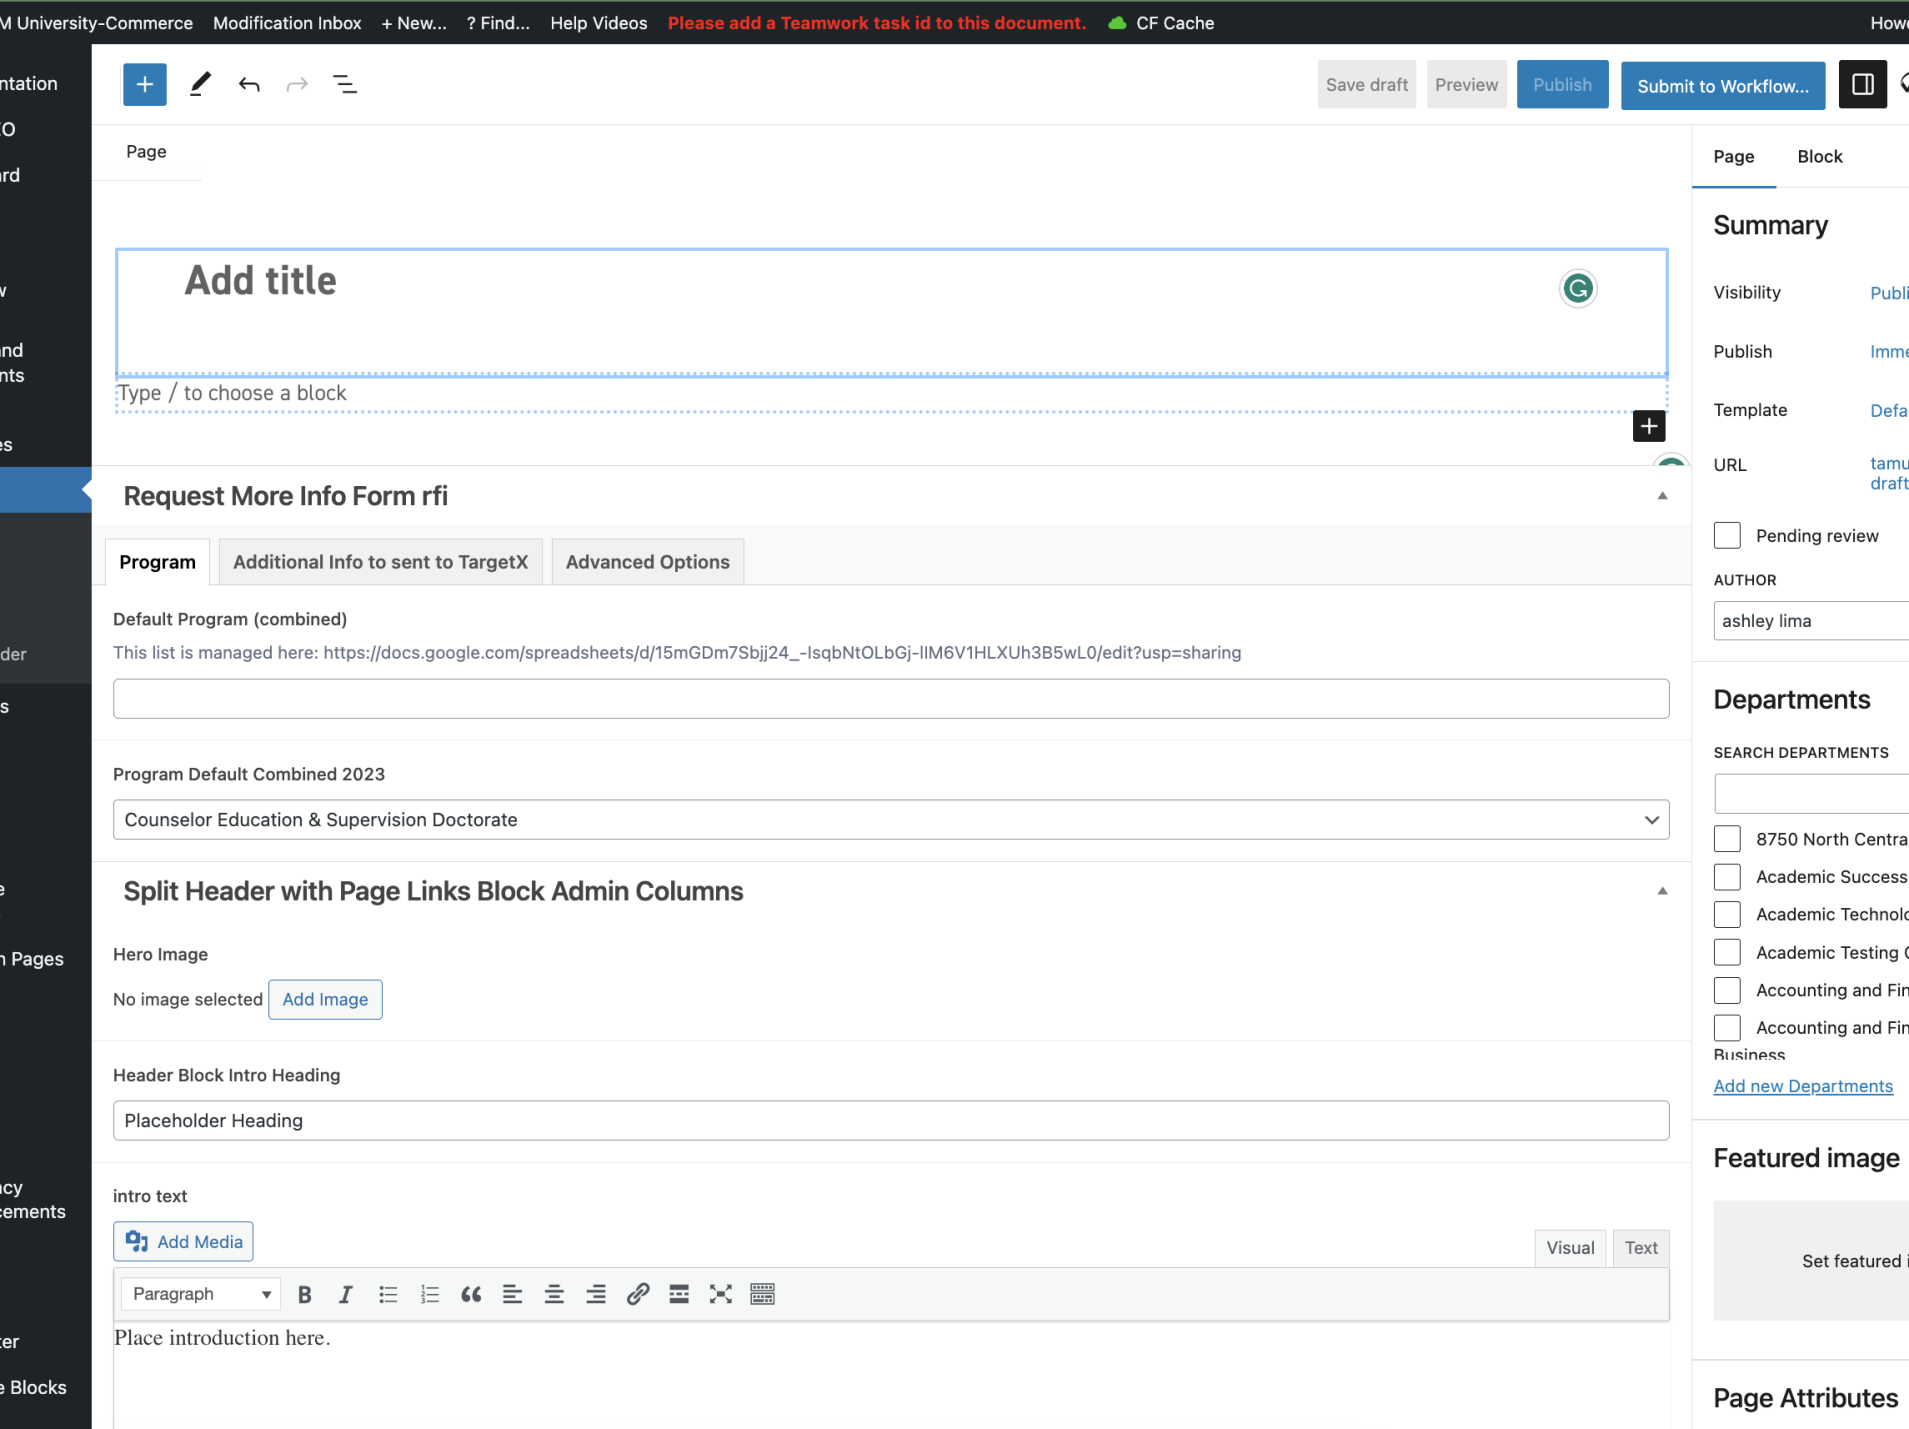
All content in WordPress is divided into blocks. Basic blocks include paragraphs, images, columns, buttons and lists. There are also blocks that dynamically display content such as sections, FAQs, people and programs.
Add a Block
To add a block of information, click one of the “Add Block” buttons. You will find the “Add Block” buttons in three places. One of the “Add Block” buttons is found near the top left corner. It is a plus sign in a black box.
When you click on it, a list of all of the available blocks appears.
Use the “Search for a block” field to type in the block you are looking for.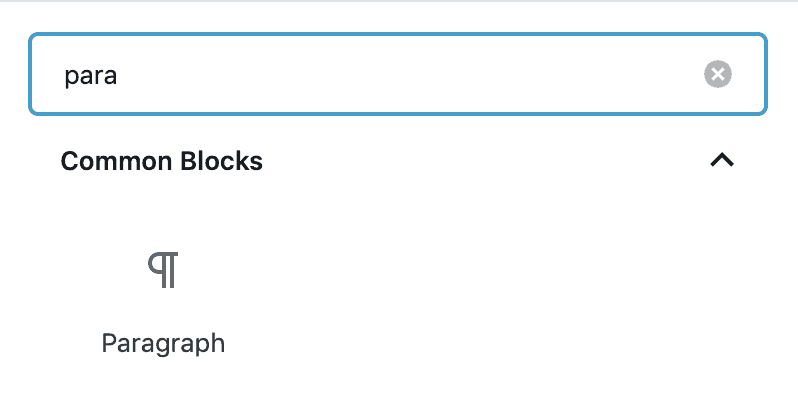
Select your desired block by clicking on it. The block is added to your content area.
Change the settings for your block in the “Block” tab in the right column of the edit screen.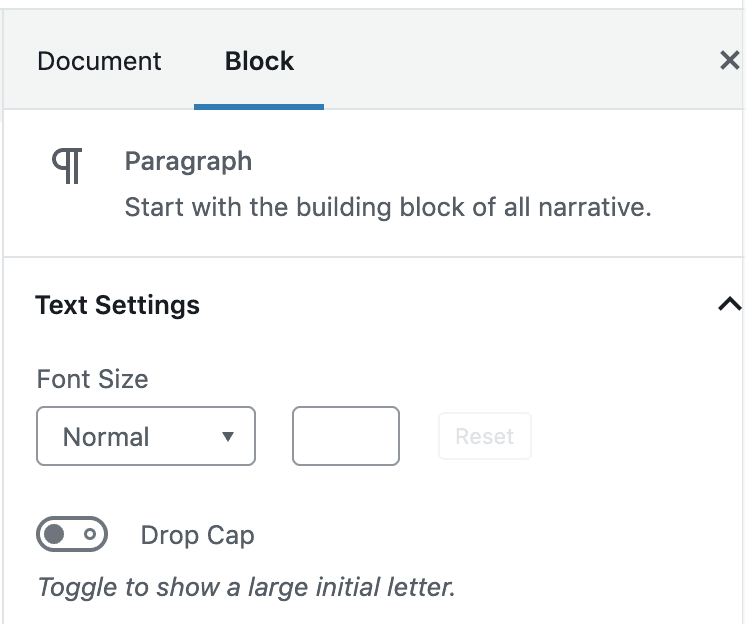
Locate the “Add Block” Buttons
“Add Block” buttons are accessible in multiple places on the section edit screen.
Near the top left corner of the edit screen
Click on an existing block to select it.
Click the “Add Block” button in the top left corner of the edit screen.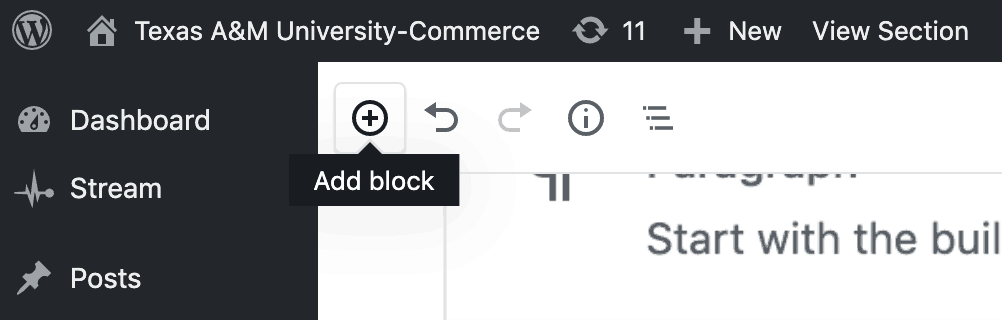
After you create your new block, it will appear below the block you selected.
The bottom of the content area
Hover the mouse below the last block in the content area.
The “Add Block” button appears in the left margin of the content area.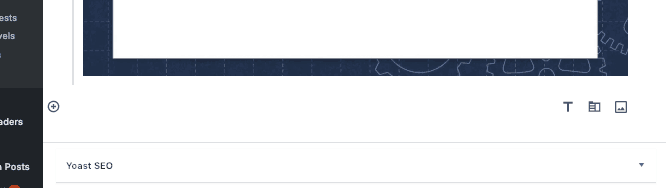
Click the “Add Block” button.
After you create your new block, it will appear at the bottom of the content area.
Between two blocks
Hover your mouse between any two blocks.
A blue “Add Block” Button appears between the two blocks. 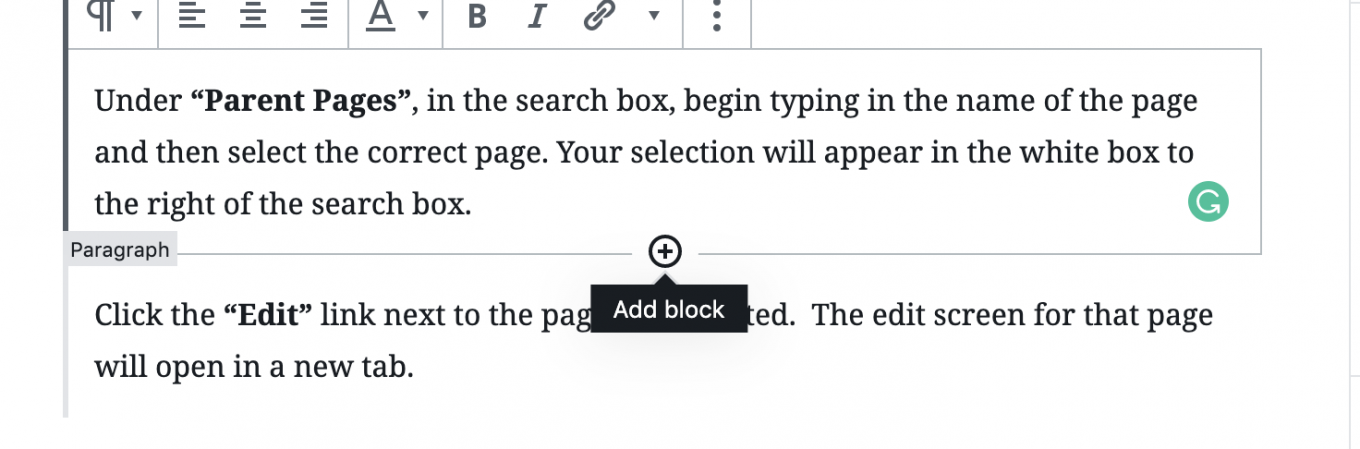
Click the “Add Block” button.
After you create your new block, it will appear between the two existing blocks.
This YouTube video provides more information about blocks:
https://youtu.be/WVZ6xPF-ozI
Content Area Block
Each page is comprised of content areas, which organize the page into different topics and make it easy to navigate by automatically updating the “On this Page” links at the top.
“On this Page” Text
To edit how the content area is listed in the “On this Page” list, update the “On this page text” field under “Navigation.”

New Content Area
Click the top left corner with the blue “+” to open a list of blocks to can add to the page.
Clicked on the “+” a list will be shown of what you can add to the page. It is very IMPORTANT that you first add the Content Area block before any additional blocks are added such as a paragraph or a heading. See Figure 2.
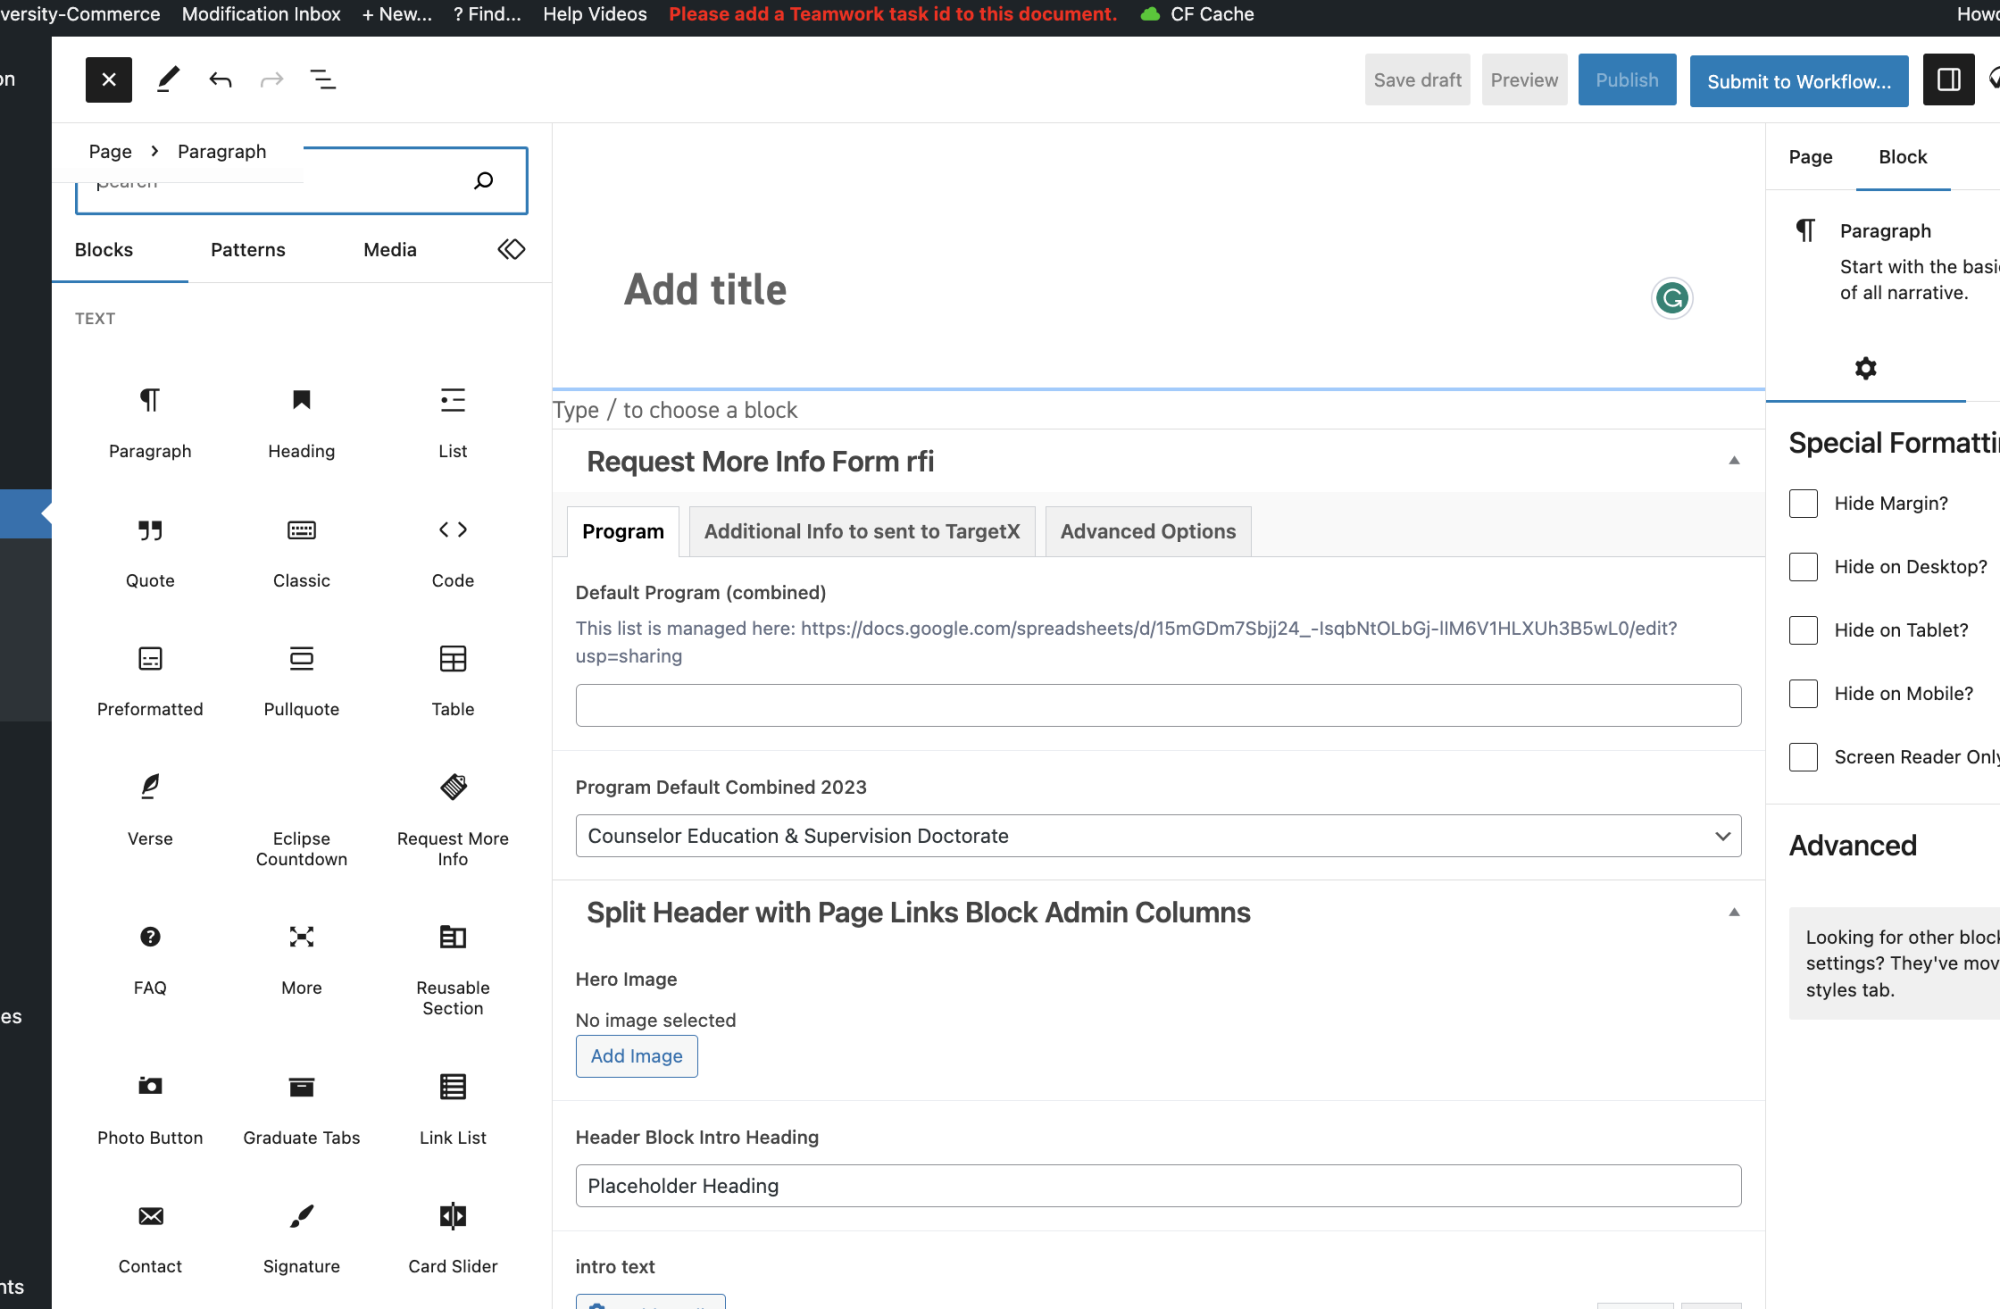
Figure 1.
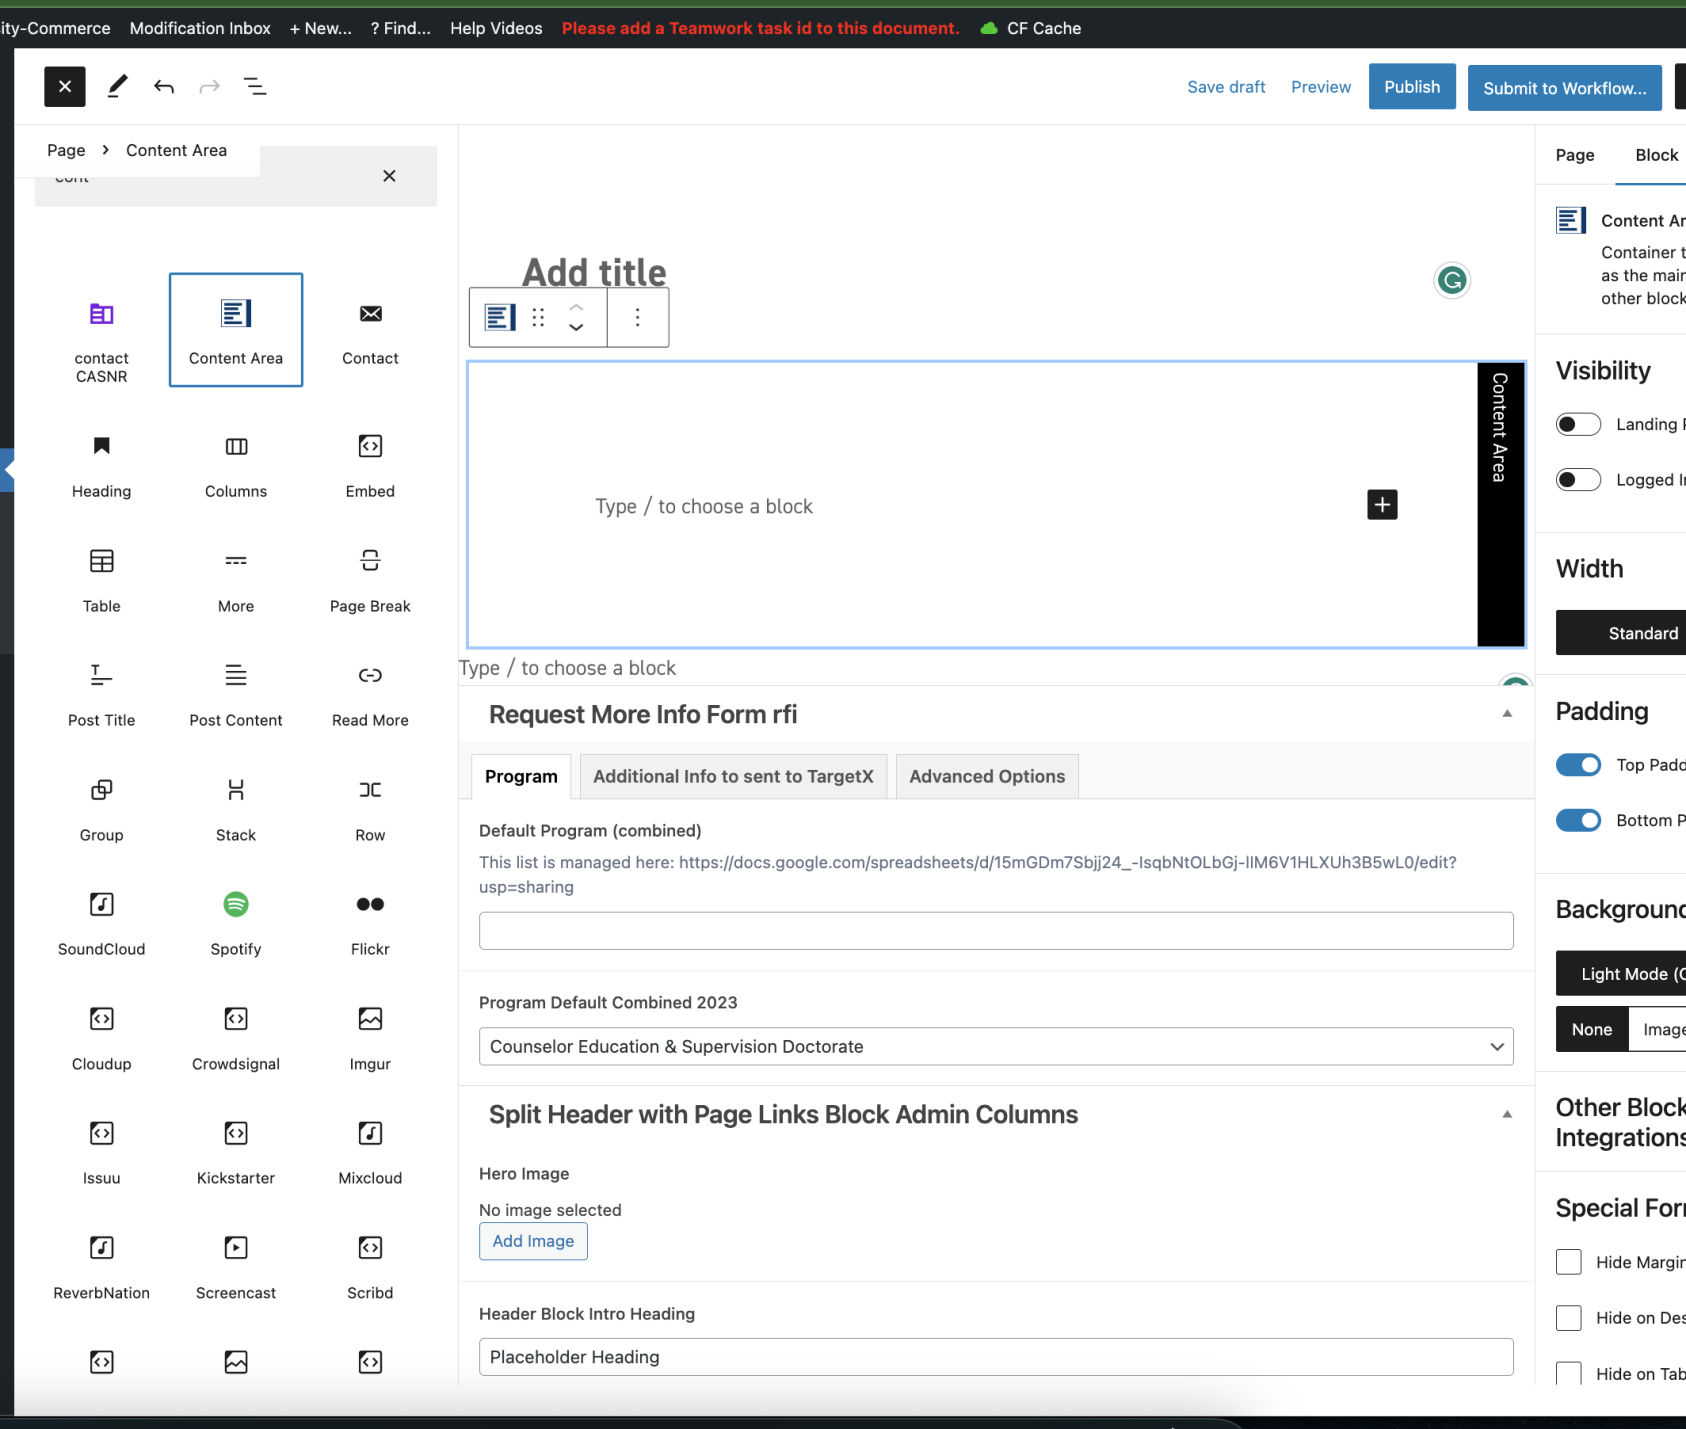
Figure 2.
Once the content area has been added to the page, you can begin to add other blocks such as paragraphs, headings, columns and etc,
If you need to move your content area lower on the page, you will click on the black line to the right of the block and click the arrows to move it up or down one position on the page.
Fill Columns with Images
Use these instructions to fill a column with an image.
Add an image to a column
- Select the image
- In the block settings for the image, under “Special Formatting,” Check “Fill Column With Image?”